Hermes Agent can build the design tools you need. In this series, we start with the most essential one: a custom image generator that bakes in your unique style so you never have to repeat it. I’ll also show you how to generate images for free using local models.
Background
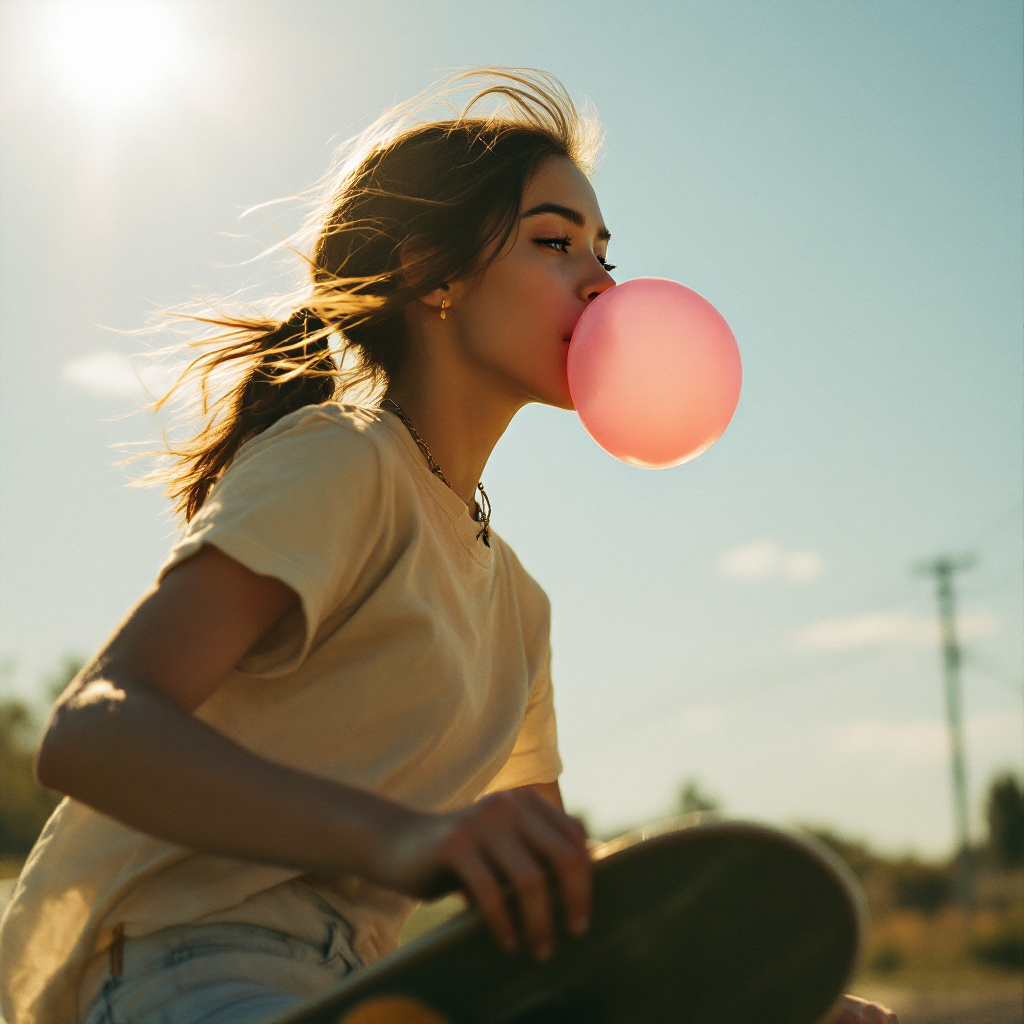
As a designer, you probably create images constantly. At my company, everything needs to stay on-brand. On my blog I have more flexibility, but I still want a consistent look — black and white, cinematic composition.
Style application is only half the battle. Developing concepts takes serious effort. When we need supporting visuals for website content, we have to analyse the copy, determine the key element, and decide what it needs to convey. That process is time-consuming, and AI can streamline it.
Finally, new image-generation models and LLMs are released constantly. You want a workflow that abstracts away the underlying model so your system keeps working when you switch to something newer and better. The tool we’re building acts as that abstraction layer.
Preparation
I’m assuming a few things about your setup: you have a Mac, you run Ollama locally, and you have Hermes Agent installed on the same machine. I’m using the Kimi K2.6 model via Ollama and Gemma 4 12B running locally as well.
(Note: The following step is optional but strongly recommended. It will save you maintenance effort down the road.)
- Create a dedicated folder on your computer for code that Hermes Agent generates.
- Document that path and your Python package-manager preference in an AGENTS.md file inside the project folder. (Use
uvif possible — it keeps dependency management simple.) - If you want this preference applied globally, you can add it to your SOUL.md, but project paths and conventions belong in AGENTS.md.
Without this, Hermes Agent tends to use whatever folder is convenient at the moment, which makes upgrades and maintenance harder later.
Local Image Generation Model
If your machine has at least 16 GB of RAM, you can generate images completely for free. If you lack the memory, start with a cloud-hosted model and continue with the same implementation steps.
Ask Hermes Agent:
Look up this GitHub repository called Bonsai and install it locally: https://prismml.com/news/bonsai-image-4b. Once installed, provide CLI access, including the ability to pass parameters via command-line arguments. Finally, create an AGENTS.md file within the folder explaining to other agents how to use the tool.This should result in a locally built utility. Verify it works:
Use the Bonsai tool via CLI to generate an image of a chameleon that is 500×500 pixels in size.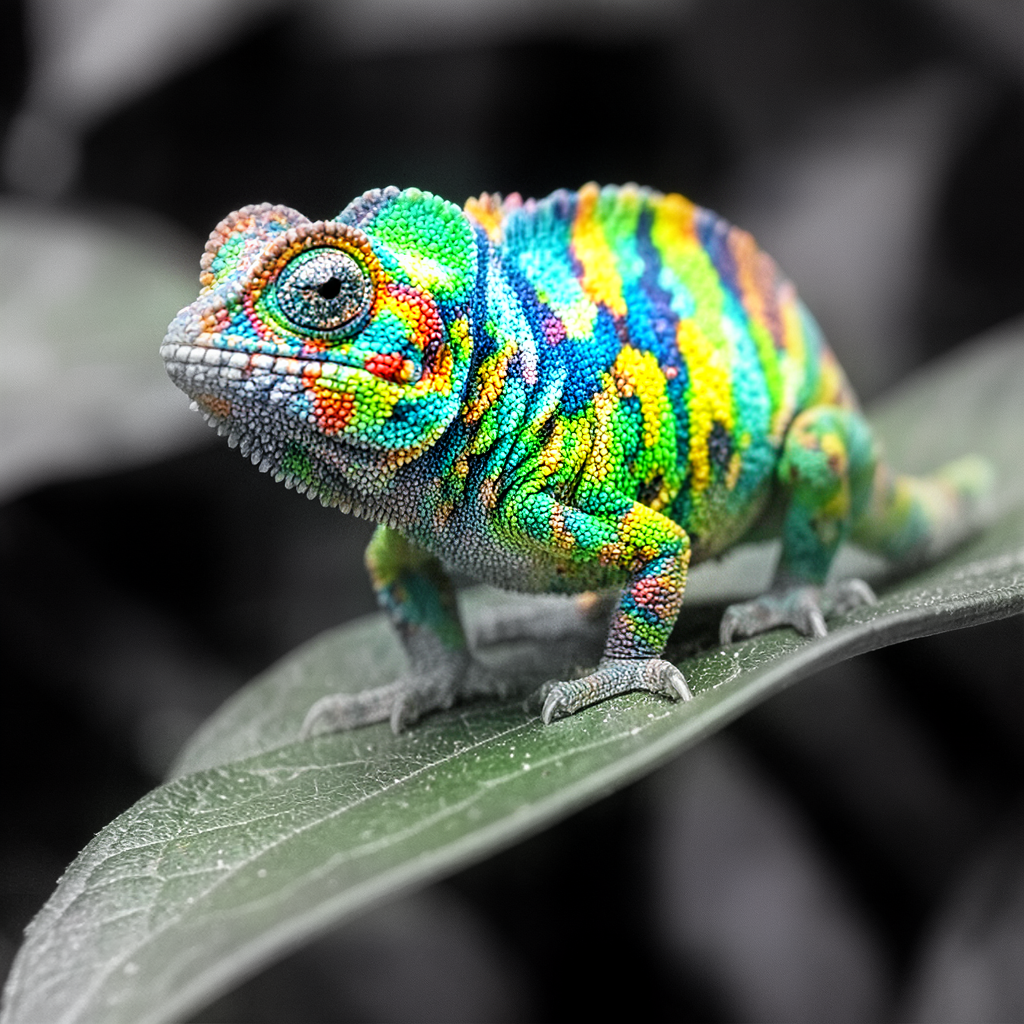
Bonsai is fast — on my Mac it takes about 6–10 seconds depending on dimensions. Once generated, your agent should provide the image path. If anything fails, ask the agent to debug it.
With Bonsai installed, we can build the abstraction layer that makes switching models effortless.
The Image Generation Tool
Now let’s build image37 — a CLI tool that sits on top of any image model and gives you a uniform interface.
Three reasons this matters:
- Model flexibility. Bonsai is excellent but has limits — human limbs, for example. You will want alternatives like GPT‑5 Image or Nano Banana for certain jobs, while keeping Bonsai for others.
- Future-proofing. New models ship all the time. You should be able to adopt them without rewriting the rest of your system.
- Style injection. This is where you enforce proprietary styles and customisations automatically.
Prompt Hermes Agent with:
Build an image generation tool called `image37` that works via CLI and can be used by any agent to create images with various models, including the Bonsai model you just built. All parameters accepted by the underlying generation models must also be supported as optional arguments by image37. Store every output in a `storage` folder inside the tool's directory and return the path to the generated image.

Add `model` and `use-case` parameters. If `model` is set to `bonsai`, generation must run through Bonsai. Default to `bonsai`, 500×500 pixels for height and width when those values are omitted. I will specify what to do with `use-case` later.

If you need a virtual environment, set it up inside the tool folder using `uv`. Please also build an AGENTS.md file with instructions on how to use the tool.
You can name the tool anything you like, but note that Hermes Agent ships with a built-in skill called image-generator, so choose a distinct name to avoid confusion.
Test it:
Use `image37` to create an image of "Sunshine and rainbows with a dreamy setting using pastel colours". If you need instructions, read the AGENTS.md file in the tool's folder.
This is your image-generation equivalent of “Hello, world!” — you should receive the path to the stored image. Debug any issues with the agent before moving on.
Replicate Models
With image37 working, you can add cloud-hosted models. In mid‑June 2026, the strongest options are Google’s Nano Banana 2 for general image synthesis and Flux 2 Max / Pro for photorealistic work.
All of these are accessible through Replicate, a pay-per-use API provider (no monthly subscription required).
Prep
You need a Replicate account. Sign-up currently requires a GitHub account. Create one on GitHub if necessary, then log into Replicate with it.
- Click your account name on Replicate and open API tokens.
- Create a token named
image37so you know where it is used. - Save the token in a
.envfile inside theimage37folder. Open any text editor, typeREPLICATE_API_TOKEN=*** and paste the token, and save the file as.env` (note the leading dot).
Build
Integrate Flux 2 Flex first. Ask your agent:
Visit https://replicate.com/black-forest-labs/flux-2-flex/api, study the example code for generating images with the Replicate API, and create a script that image37 can call. Register it as a new model named `flux-2-flex`, alongside the existing `bonsai` model. Expose every parameter that Flux 2 Flex supports through image37.

Read the `REPLICATE_API_TOKEN` from the `.env` file in the image37 folder. The virtual environment should be managed with `uv`. Update the AGENTS.md file when you are done.
Implementation should be quick. Verify the integration:
Using the image37 tool, create an image with the flux-2-flex model: a close-up shot of an alligator's eye in black-and-white wildlife photography style.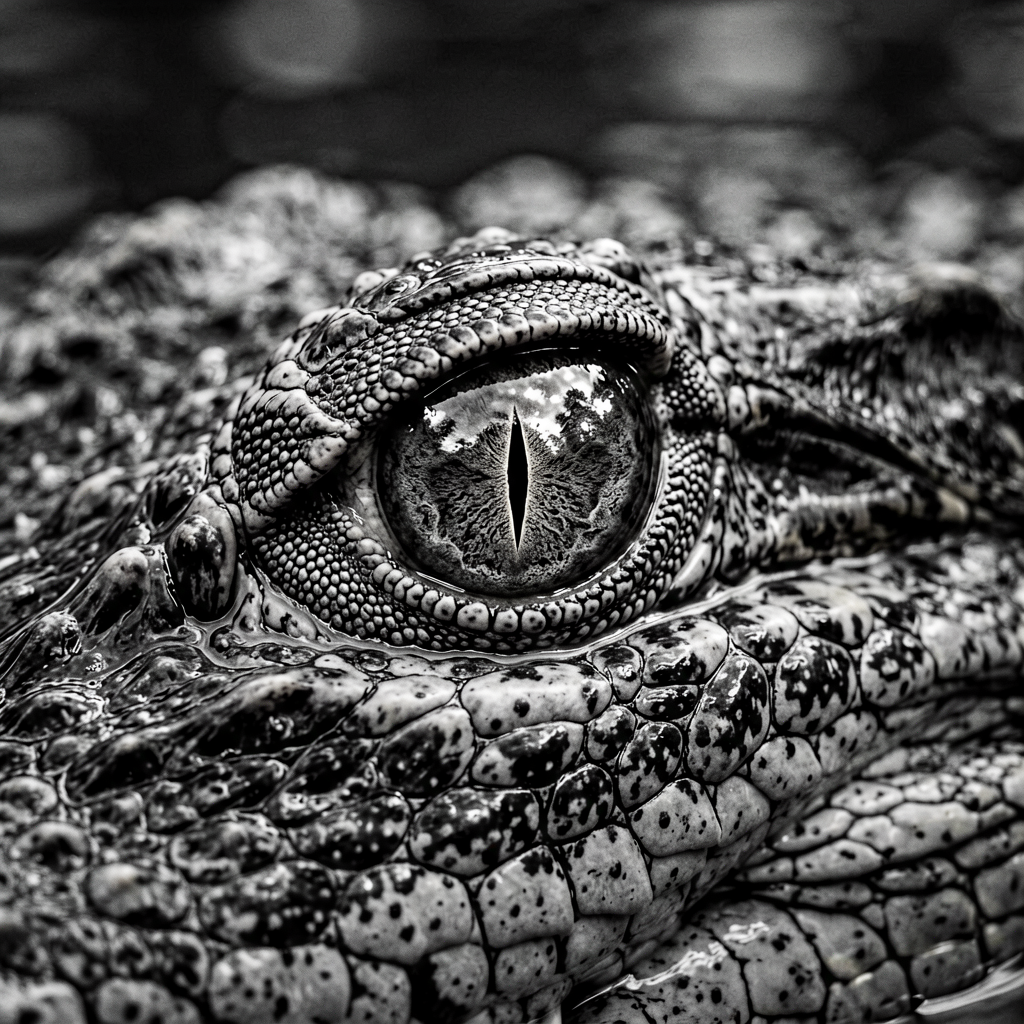
You should get a crisp, detailed result. If not, have the agent debug.
Repeat these steps for any additional Replicate models you want. Recommended options:
- Flux 1.1 Pro: https://replicate.com/black-forest-labs/flux-1.1-pro
- Nano Banana 2: https://replicate.com/google/nano-banana-2
Ask the agent to reference the flux-2-flex implementation when adding each new model. Extending the existing script is perfectly fine, as long as the new provider is also Replicate. If you add a model from a different service, keep its logic separate.
Styles
You may have noticed that our test prompts already contained style and composition details. Repeating that every time is tedious. With image37 in place, automation is straightforward.
Ask your agent:
Update image37 so the following text is appended to every image-generation prompt before the request is sent to the model:
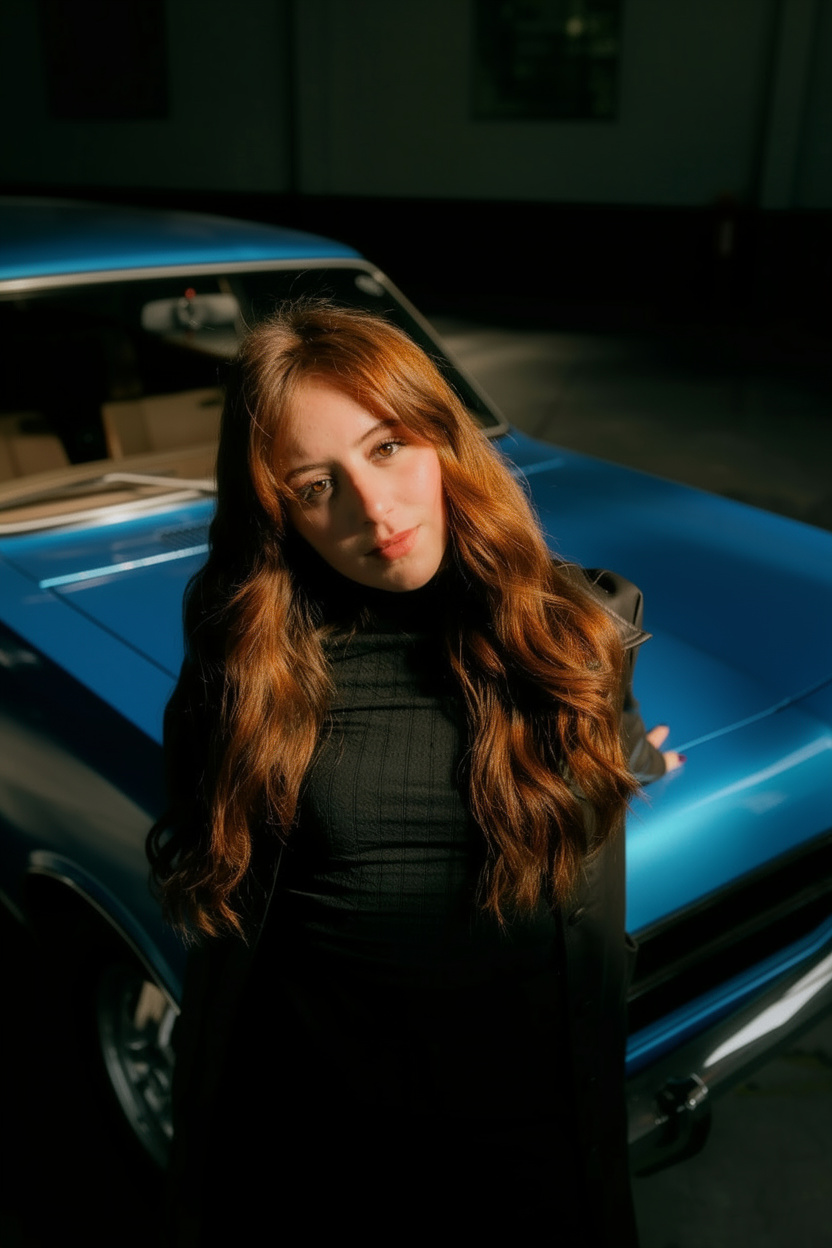
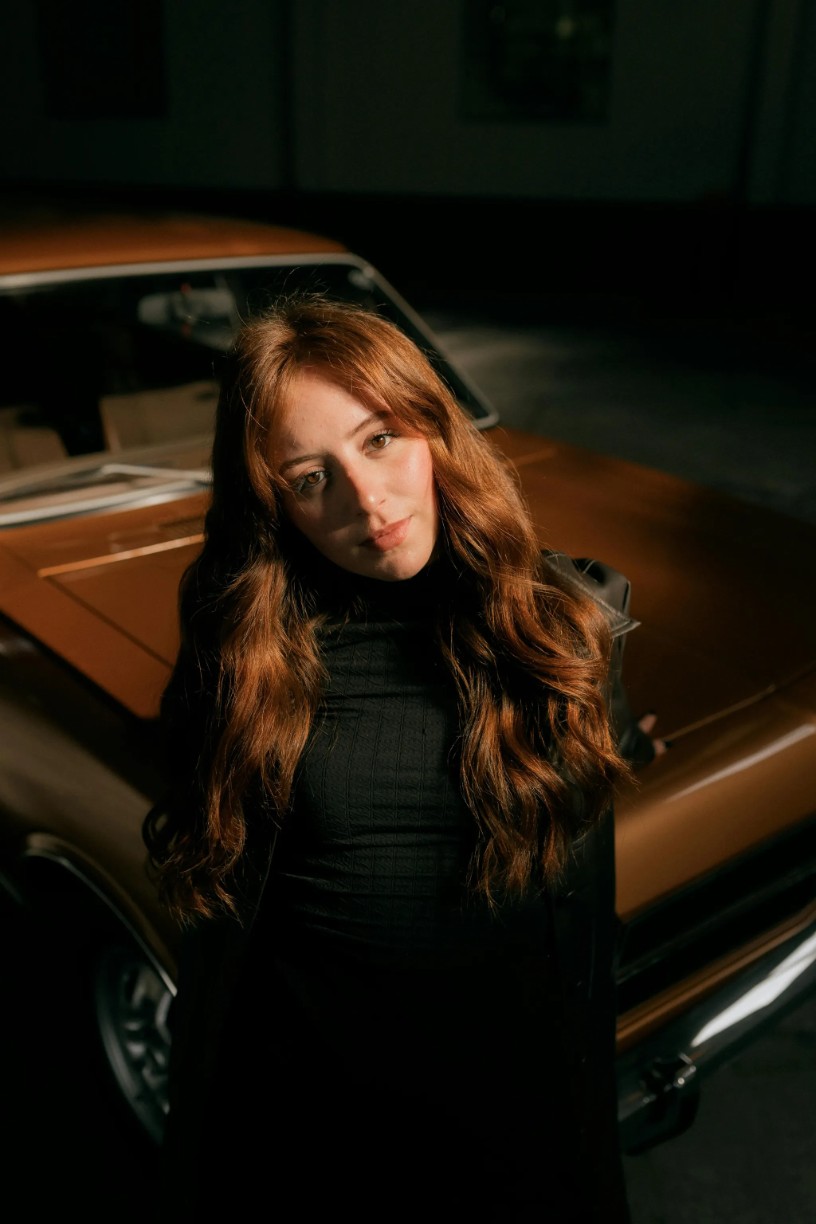
"Create a cinematic, photorealistic medium shot capturing the nostalgic warmth of a mid-2000s indie film that was shot on a Leica M6 with Kodak Portra 400 film grain aesthetic."Replace the sample style with your own. From now on, every image generated through image37 will share that look without extra manual effort.
Use-Case Prompts
We are finally in an era of goal-oriented computing: tell the machine what you need, not how to do it. The use-case parameter embodies that idea. Describe what the image is for, and the AI constructs the right prompt automatically.
Ask your agent:
Update image37 so that when the user provides a `use-case` value, the tool first asks an LLM to craft an image-generation prompt suited to that use case, then passes that prompt to the image generation model.

For example, if the use case is "I need an accent image for a paragraph about blockchains," the LLM should generate a prompt like "A linear set of 3D cubes arranged in a horizontal plane, linked by pipes connecting each one," and only then invoke the image model.

Update the AGENTS.md file after implementing this feature.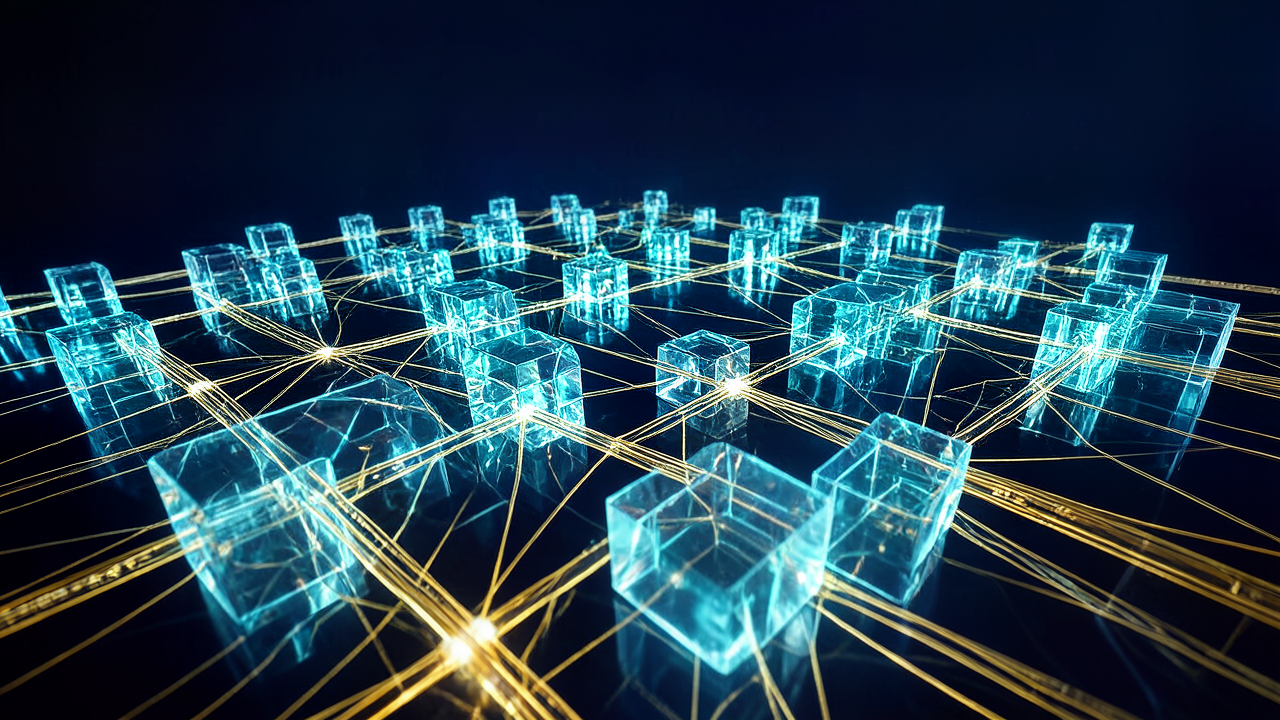
Now image37 can help you when you are stuck for a visual concept.
Ways to Extend
This is one of the most-used tools I have had an AI agent build for me, and it will be useful immediately. If you want to push further, here are solid next steps:
1. Multiple brand prompts
Right now image37 applies one style to every image. You can extend it to accept style identifiers — style-a, style-b, etc. — so different clients or projects get their own look automatically.
2. Batch generation
If speed matters more than cost, have the tool generate several variations per prompt and pick the best one. The time savings add up quickly.
3. Reference-image inputs
Flux 2 Pro on Replicate supports multiple reference images. You can supply a logo, a portrait, and a background, then ask the model to merge them into a single commercial fashion shot. Several newer models offer the same capability.
4. Editing features
Models such as Flux 2 Pro also support in-painting, object replacement, colour swaps, and canvas expansion. You can wrap those capabilities in simple CLI commands.
If you build any of these extensions — or the tool itself — share your experience. If you hit a problem you cannot solve, reach out. Next week I will cover building analogous tools for audio generation.
Discussion